The first room we decided to tackle (after a little bit of *ahem* discussion) when we moved in to our home was the larger bathroom.
Here is a before shot:


So, trying to be as chemical free as we can, and with us trying to have a baby - I really did not want to use a chemical-ridden wall paper remover. So I turned to the internet. I came across a blog post with a recipe that I have since lost (thought I pinned it, even checked my browser history...no where to be found - sorry I can't give credit where credit is due). And I just knew we had to give her recipe a try. And I'm SO glad we did because it turns out the couple days spent removing wall paper would have been part of my first few weeks of pregnancy. :)
Here is the recipe:
1/2 cup of Vinegar
3 cups of Hot Water
After a little bit of trial and error, we found this to be the best process:
1. Score the paper/border with a knife or paint scraper
2. Spray down a small area with the vinegar solution
3. Let it soak for a couple of minutes (but don't let it dry)
4. Spray a little more
5. Scrape away!
Look at Hubby hard at work! :)

But the real question is, how did it work?
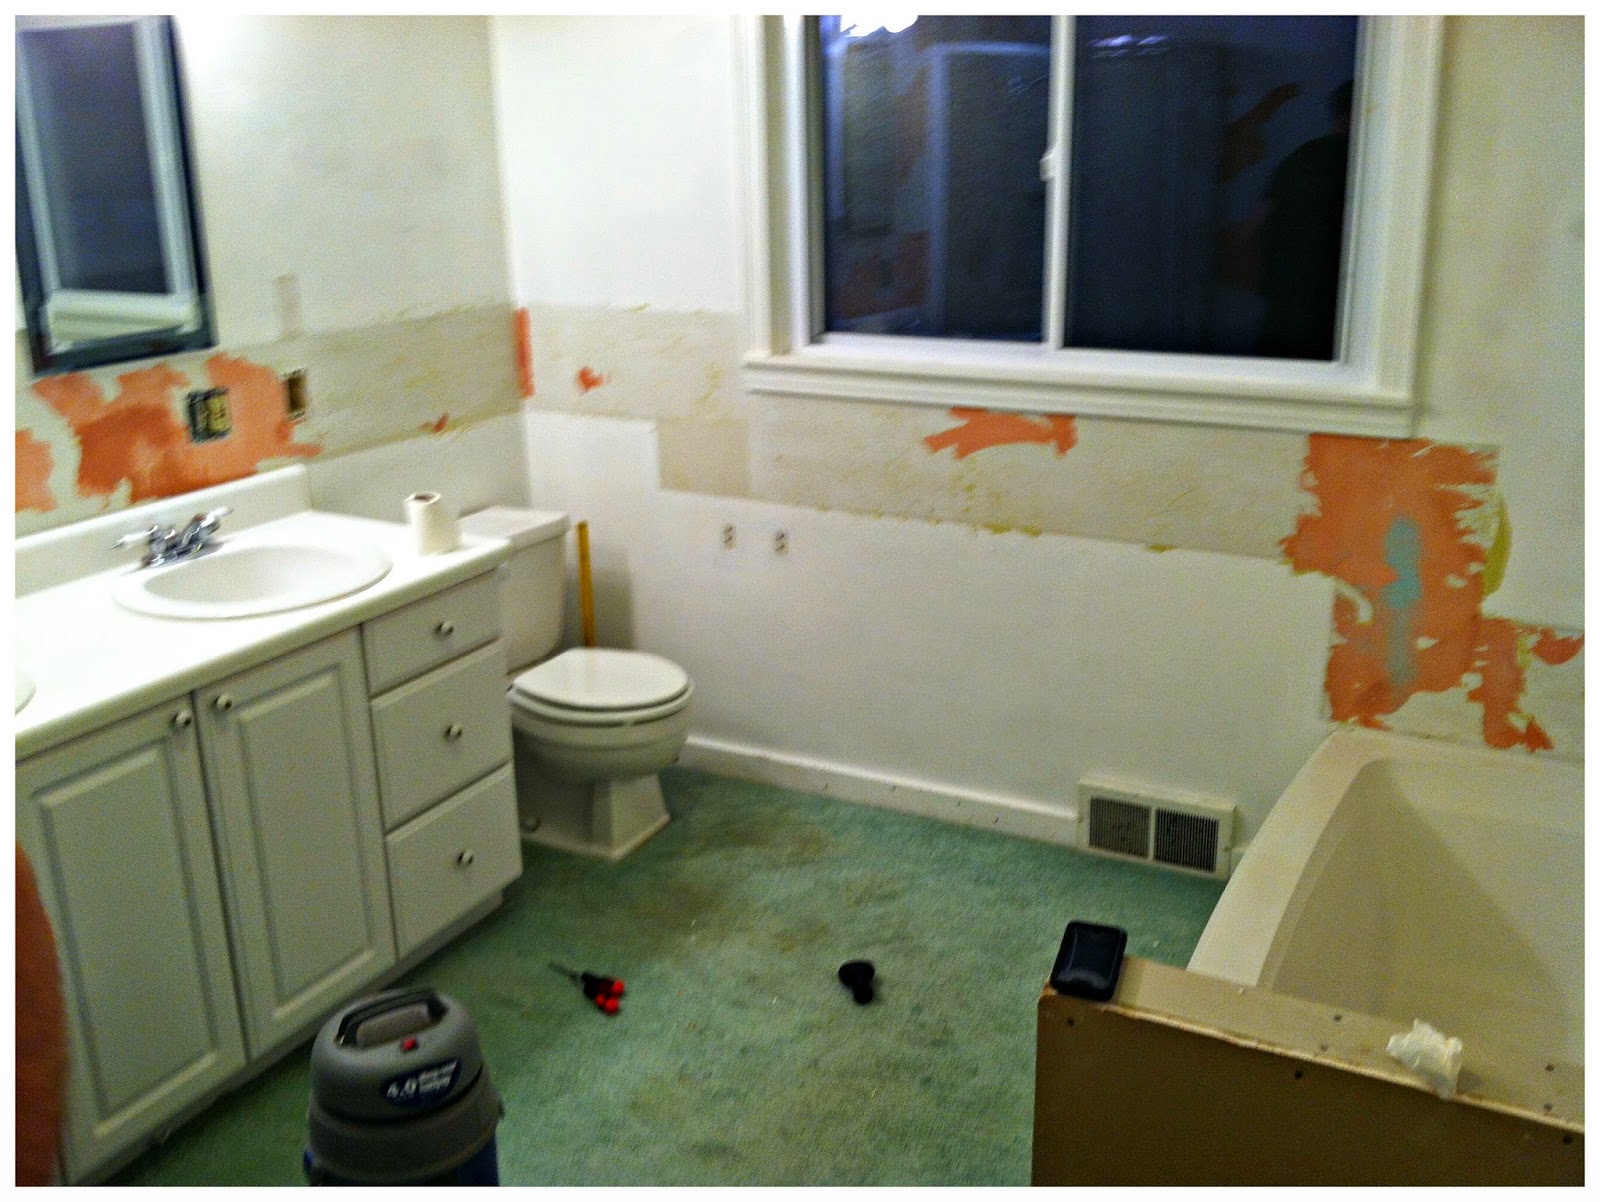
For the large bathroom, the border was water resistant. This presented a little bit of difficulty. The areas that were sprayed and resprayed and sprayed again because we were trying to keep everything moist, came off rather easily. Unfortunately for us, it also pulled off about 4 layers of textured paint (which led to DIY task 2 - mudding and retexturing...all Hubby). Look at all of the pretty colors:

HOWEVER, the smaller bathroom is a MUCH different story! The wall paper border in that room was not water resistant. And the vinegar solution was amazing! It almost wiped right off! Check out the mess my mom and I made:

So, for regular old wall paper, I give this home recipe an A+!
And just for fun, here is a pic of the large bathroom wall sans wall paper but before any other improvements. Pretty isn't it? ;)
What a helpful guide! I am very sensitive to chemical smells so this is a great read for me.
ReplyDeleteThankfully we don't have any wallpaper left to deal with. But my parents are looking for a place and if we have to remove wallpaper - this will be our method. So sick of toxic chemicals in everything we use. :P
Delete