Showing posts with label Crafts. Show all posts

Friday, August 8, 2014

Giveaway & Review: Custom Stickers from StickerYou *CLOSED*


You all probably know by now that we moved into our new home in January.  Since then we've been slowly working on projects throughout the house.  Not to mention preparing for our little Sprout.  Most of the time this means that things are terribly unorganized....which I hate.  But between house projects, work, and growing a baby...I'm usually too tired to bother with organizing.  Which is why there are stacks of baby clothes all over the living room.  ;)  They are organized by size but not put anywhere.  lol.

Anyways...StickerYou provided me with a solution to one of the things that has been driving me crazy!  Our spice drawer.

A beautiful mess right?

A couple of years ago, Pinterest inspired me to put our spices in baby food jars, label the lids, and stick them in a drawer.  Which, honestly, I love.  No more rooting around a cabinet - I can see what's what with just a quick look.  And yes, I do need more baby food jars to get some of those other spices transferred.  I did blog about the process way back when here.  But there are a couple of things I really dislike (which are noted in that post):

1. I used acrylic paint because I'm cheap and it's what we had on hand.  Because of that it scratches off easily and doesn't have a nice finished look.  

2. I hand wrote, with a Sharpie, the names of the spices on the lids.  My handwriting is horrible.  It's legible but really not very pretty.  I should have had someone else do it.  Even Hubby's handwriting would be nice - being a designer, he is pretty particular.  ;)

Now, thanks to a whole-house remodel, we have plenty of spray paint on hand.  And most of it is for use on metal.  :)  I have two ideas I had been playing around with.  One, I could paint the lids cream to match the trim in our kitchen.  Or, I could paint them to match these awesome salt & pepper shakers we found at a flea market (tops were originally a rusty black):

Definitely a find I am proud of.  :)

When I got word about this review for StickerYou, I started searching for stickers for Baby Girl's room.  Except I have no idea what her storage looks like yet, so I couldn't really settle on anything.  Then I got the idea to find something for our spices.  And I stumbled across these beauties:

Ornate.

Lovely.

Aren't they super cute!?!  And they match our kitchen perfectly.  I think on top of that bronze color paint, they will really pop!  I took a picture to give you a rough idea of what I'm going for - but I haven't painted yet so you have to use your imagination:

A little rough...I know.

I did think they were going to be a bit bigger.  But that is not StickerYou's fault at all.  I remember reading that they were 1 inch by 1 inch.  I just thought an inch was bigger.  ;)  I am horrible at judging size and distance.  I should have known better.  But I think with some of that bronze paint and someone else's handwriting I will be very pleased with the finished result.

Super thankful for the fun way to organize and beautify our kitchen.  :)

Overall, the stickers are fantastic.  The process to create them was so simple.  And these specific stickers would be great for weddings or showers - you could add text or a picture to each one (though I'm fairly positive it has to be the same thing for every one...which is why I didn't do it).  They have some awesome ideas for personalizing an event:


Cute right??
  They have SO many awesome options to choose from!  You can get stickers for jelly jars, girly stickers, manly stickers, anything you can think of!  You can even make temporary tattoos, car decals, magnets, iron-ons, or wall decals!  The options are pretty much endless.  They are high quality and I am confident that they will last a very long time.  Once we get a little more settled I'll probably be looking to get some more!  :)  Check out this adorable video for a peek at all they have to offer:


To Buy: Head over to the website here to see what kind of stickers you can come up with! 

To Win: One reader will receive 2 pages of their very own custom white vinyl stickers - rush shipping included!  That's a $37 value!
  
I received one or more of the products mentioned above for free using Tomoson.com. Regardless, I only recommend products or services I use personally and believe will be good for my readers.

Sunday, July 29, 2012

Who Needs Pinterest? Well...

Sometimes Pinterest doesn't give me one single idea or one project, instead, it sparks my creativity and inspires me to be creative!  And that is exactly how this original masterpiece came to be:


I adore it.  Mostly because I didn't steal the idea from someone else.  Hubby wants me to sell it because he doesn't particularly care for it...but I don't know if I can part with it...

Here is a close up of the main piece that took me eternity:


In case you can't read that, the passage is Matthew 6:25-34 - one of my favorites!  It talks about how if God takes care of the birds of the air and the lilies of the field, than how much more so will He take care of us?  Stop worrying. That is a reminder I need every day!  :)  Check out the paper flower tutorial over at "Dozi".

The other two pieces took much less time to complete but I think they turned out pretty well: 


The following three blogs provided me with most of my inspiration:
Creating While Waiting
Blue Cricket Design
Tatertots & Jello

Hoping my inspiration inspires you!  Happy Crafting!

On a side-note, I officially made my own laundry detergent yesterday!  


Really excited about this!  Should last me longer than store-bought, be a lot healthier, it was cheaper, and it wasn't very difficult!

There were two blogs I referred to:

Sew Much Ado and Being Creative

I technically used the recipe from Sew Much Ado - it is a small recipe (perfect for someone that just wants to try the homemade thing) so I quadrupled it.


Being Creative includes Oxi-Clean in her recipe, but other than that, the recipe is basically the same...just bigger, much bigger.  And since I didn't have a 5-gallon bucket laying around, I decided to use the recipe from Sew Much Ado.  However, I did buy a big container of oxi-clean (I got off-brand) and I add a scoop of that to each wash as well.  I simply combined the best of both worlds...or blogs...

If you have any questions, don't hesitate to ask.  Let's make the world a better place, one washing machine at a time!

Saturday, May 19, 2012

Sewing Adventures

So for those of you who don't know - my birthday present this year was a sewing machine.  And I am super excited about it.  However...I have no experience (with the exception of 8th grade Home-Ec).  So anything I try is quite the adventure. But I love the joy of learning on my own without the help of tutorials and what not - it gives me a sense of accomplishment.

Last week...I decided to attempt to patch a pair of my hubby's work pants.  I grabbed a dress shirt out of my scraps box and started snipping away.  I don't like to measure, so I just laid the shirt on top of the hole and snipped away (luckily, the shirt was striped, so cutting straight lines was a no brainer!).  I added push pins and then went to the sewing machine.  Now here was the problem - how was I supposed to patch the knee without sewing the leg together?!?!  I remembered Mom telling me I could remove some pieces if I needed to sew in a circle - so I did that and managed to shimmy the leg the whole way to the knee (it was pretty bunched up...).  It actually worked pretty well...but you really had to keep an eye on the material and needle in order to keep the stitch straight.  And of course...about half way through, my bobbin ran out of thread (genius me forgot to check it...).  It took me awhile, and it isn't very pretty...but they are just work pants.  Here is the finished product:


UPDATE 5/23/12 - The large patch was a fail.  Hubby text me at lunch to let me know - "your patch worked for a little while :)."  He is so good at letting me down easy.  haha.  I will have to try again...and hope that it will at least last a full day.  Gotta love the learning process! 

Awhile ago, I had ripped apart...wait for it...an old Vera Bradley (*gasp*).  It was grungy (even after being washed) and was teared and frayed from excessive use...but I couldn't bring myself to just throw it away...so I started to take it apart.  In the end...I had quite a bit of usable material - the inside had stayed pretty white...and there are quite a few layers in those purses!  So after stitching hubby's pants, I took a couple pieces of the inside material and sewed them together:


I am quite proud of this idea...I'm not sure what I'll do with it yet, maybe add a strap or something...we will see!  I also have another bag I hand stitched when I first tore the purse apart, but I don't have any pics so I'll have to show that later.  Plus...there is STILL material left!  Just one more reason I love Vera Bradley - it is the gift that, now, keeps on giving!  But trust me...I will NOT be ripping apart my new ones any time soon!

On to more adventures!


Wednesday, May 16, 2012

Pinterest Accomplished!


Thought I would share a couple of the projects I've taken off of Pinterest - and succeeded!  

Even though I finished this project awhile ago (in November when I discovered it on Pinterest) I thought I would share - a Memory Jar!  My husband was a little skeptical of the idea at first.  What guy wants to write down memories and stick them in a jar?!?  But I made him. (Just remember to put it in a place he will see everyday - for Justin, that means the dining room table where he eats breakfast and does his devos everyday).  The pin I had seen had the family opening the jar and reading the memories together on New Years.  Since we didn't start our jar until November, I thought it would be best to postpone until our anniversary (March 19th).  So last week, we sat down to read our memories - some on post-its, some on notebook paper, others on the back of receipts.  It was SO much fun!  We laughed so hard and I even got emotional a couple of times.  And yes, my hubby did enjoy it.  He even mentioned wishing we had more memories and things he would have written if we'd had the jar before November.  I am so excited for our next anniversary!  And I'm looking forward to doing this when we have kids.  

I simply took a Mason Jar - removed the seal part so we could just drop our memories in and added a few stickers on the front.  It's kind of empty now - but it can fill up pretty fast.  Here is the finished product:


Update: 

I went ahead and made a jar for a wedding gift and I'm super excited about it!  I thought it was a super cute idea.  See?


Now onto the spice jar project... I hated our mess of a cupboard shelf full of herbs and spices - It took 5 minutes to find what you were looking for, stuff usually fell out onto the counter, and there was no organization whatsoever.  I'm proud to say, thanks to Pinterest, that we now have a much better system.  I used baby food jars!  First I removed the labels from the jars (this was quite a process...even with help from Pinterest).  But they look good (at least I think so...)!


Then I painted the lids with acrylic paint I already had (probably would have worked better with a metal friendly paint or spray paint...but I used what I had).  After a few coats of paint had dried, I filled each jar with an herb or spice and labeled each lid with a permanent marker.  My handwriting is pretty bad, so please don't judge...I should have had my hubby do it.  

Now, I keep our spices in drawers and you can find what you need with a simple look - no more digging, no more falling, MUCH more organization...and it looks nice!  I love it (and I think my hubby loves it too)!

Thanks for reading - if you have done something similar - please share!  I love to see what other people have accomplished with their creativeness!

Herb Gardening & Discovering Pinterest


Today I planted an herb garden.  This is the first time I have touched anything garden related since the days of chores and weeding.  After reading over a few different posts and trying to remember everything that my plant-loving husband told me, I will hopefully have 7 different tasty herbs and a few pretty flowers starting to grow within 25 days or so.  Now it's the waiting that will drive me crazy! Here are my two pots:


I will keep you posted on whether or not I am successful and what all I end up doing with my lovely herbs.

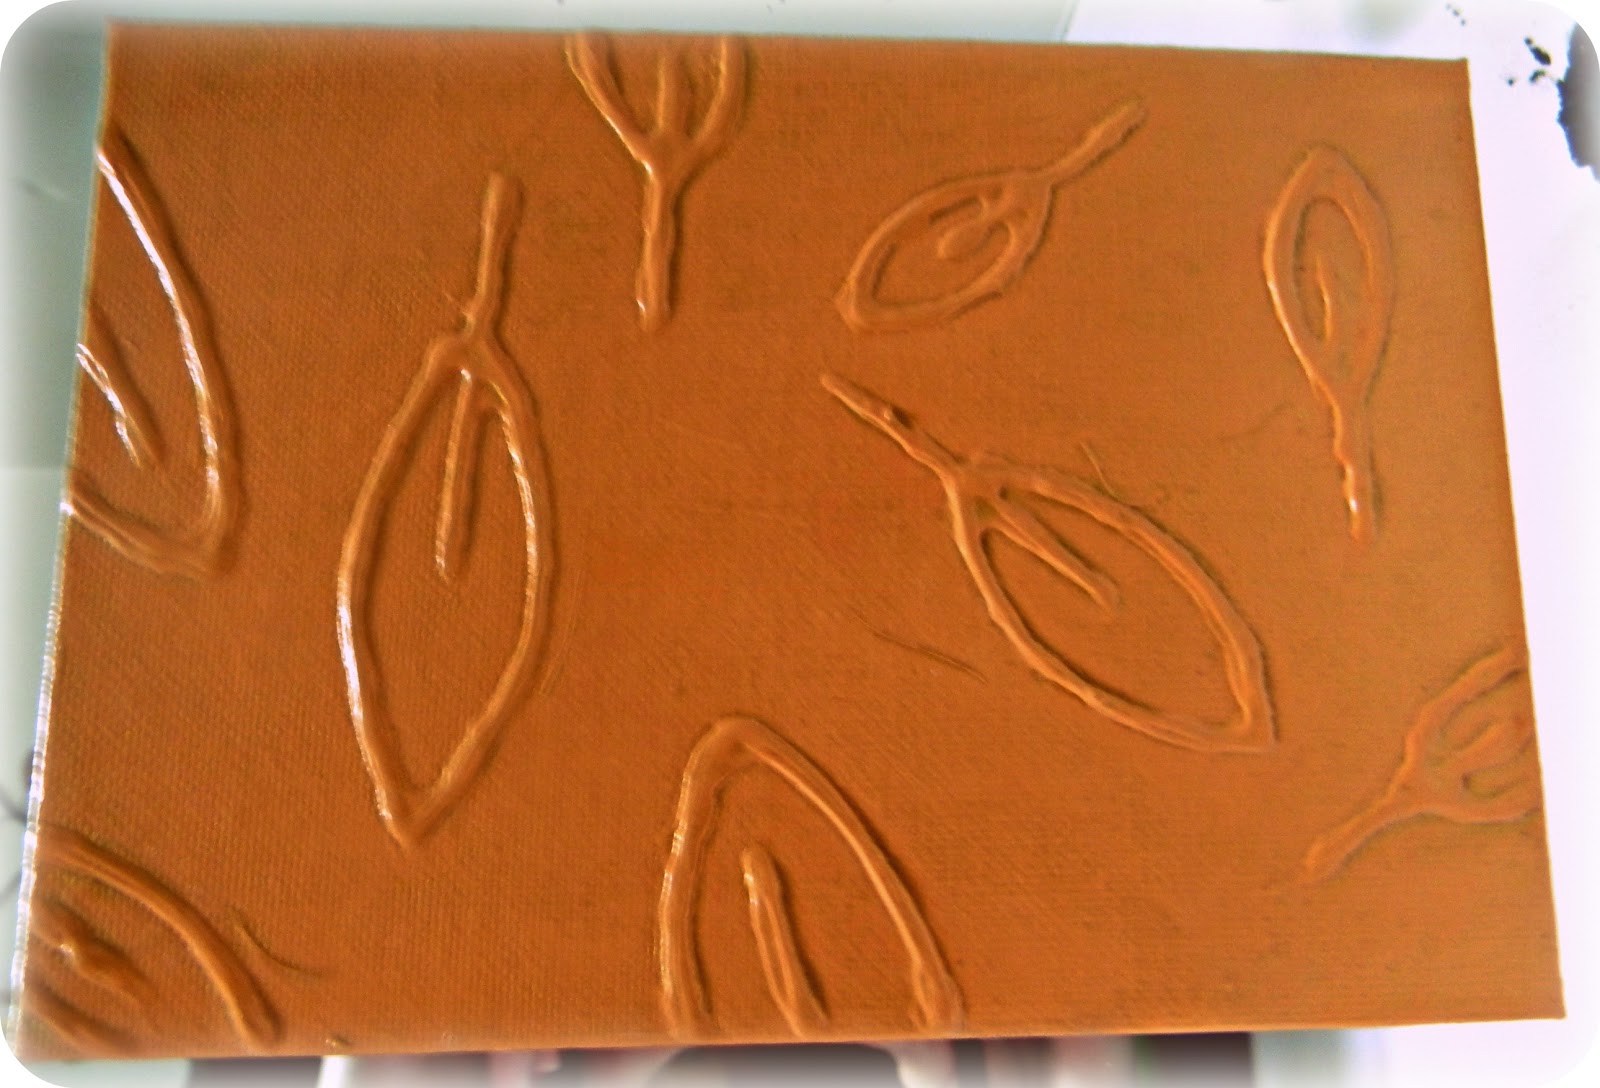
As I was cleaning today (after my gardening adventure), I realized I had neglected to share my very first Pinterest adventure!  Justin and I were short on funds after we got married and I moved in.  After spending the money we received from the wedding, I was still not 100% satisfied with our decor...that is when I discovered Pinterest.  It was unbelievable - a fascinating, limitless world at my fingertips (and, little did I know, very addicting).  I came across this craft that involved canvas, elmer's glue, and paint...hey, wait a second, I have all of those things!  This amazing new corner of the world wide web was an answer to prayer!  I gathered up the items and went to work.  This was the end result:


Our bathroom in our first apartment was much bigger so they had a nice place on the wall.  Our new bathroom is much smaller but since I love them so much I had to squeeze them in some where...so they ended up on the mirror.


Leaves were a simple design for me (and fit our decor if you can see the tree in the background) but for someone that has more drawing talent, the possibilities are endless.  Directions are here: Take a blank canvas and draw with elmer's glue (I drew with a pencil first so I could see what it looked like).  I had to do 3 or 4 layers, letting the glue dry between each.  Then, after you are happy with the "3-D look" just paint over it.  Like I said: endless possibilities.  I also went ahead and watered down some gold acrylic paint in order to add a shimmer and give the 3 separate canvas's a more cohesive look.

Happy crafting!